With this step-by-step guide, you can learn how to install golf driving range nets yourself in no time! From choosing the right netting for your needs, calculating the size of netting needed, installing poles and posts to hang them securely, deciding on a layout with additional features like target greens or flags, and maintaining and cleaning up after each use - we've got all the tips you need for setting up a safe driving range experience.
Golf range owners and operators know that protecting their golf courses and their guests is a top priority. Choosing the right size of golf barrier netting can be challenging. Let's walk through the process.
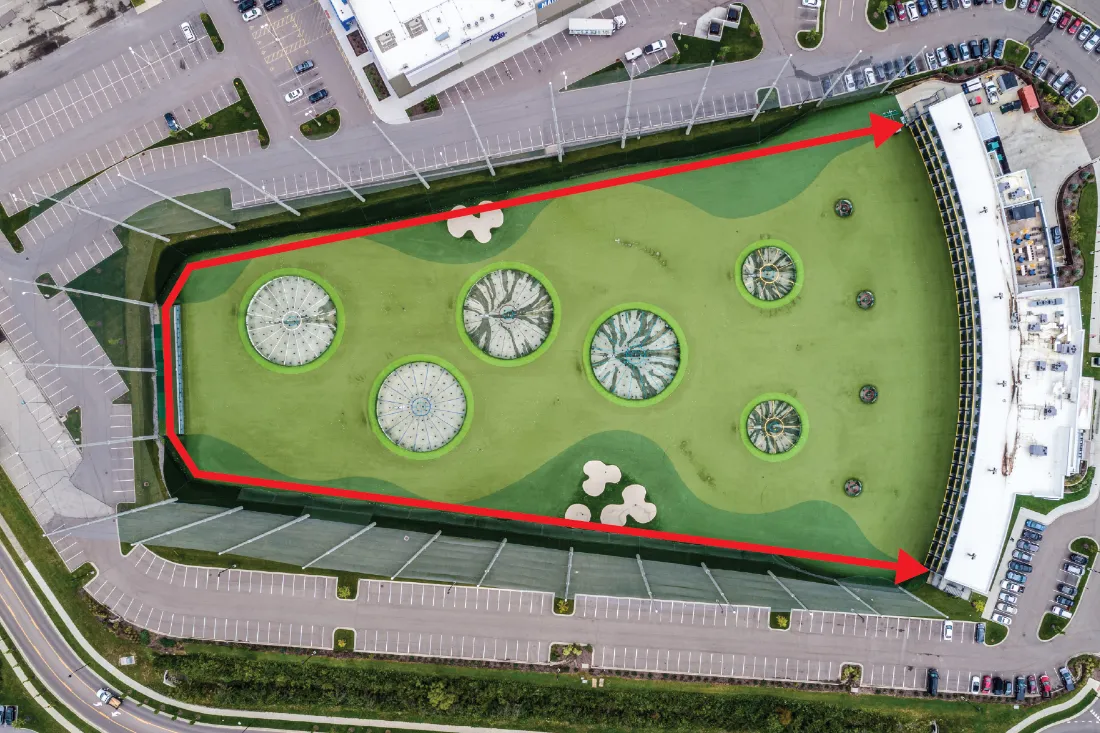
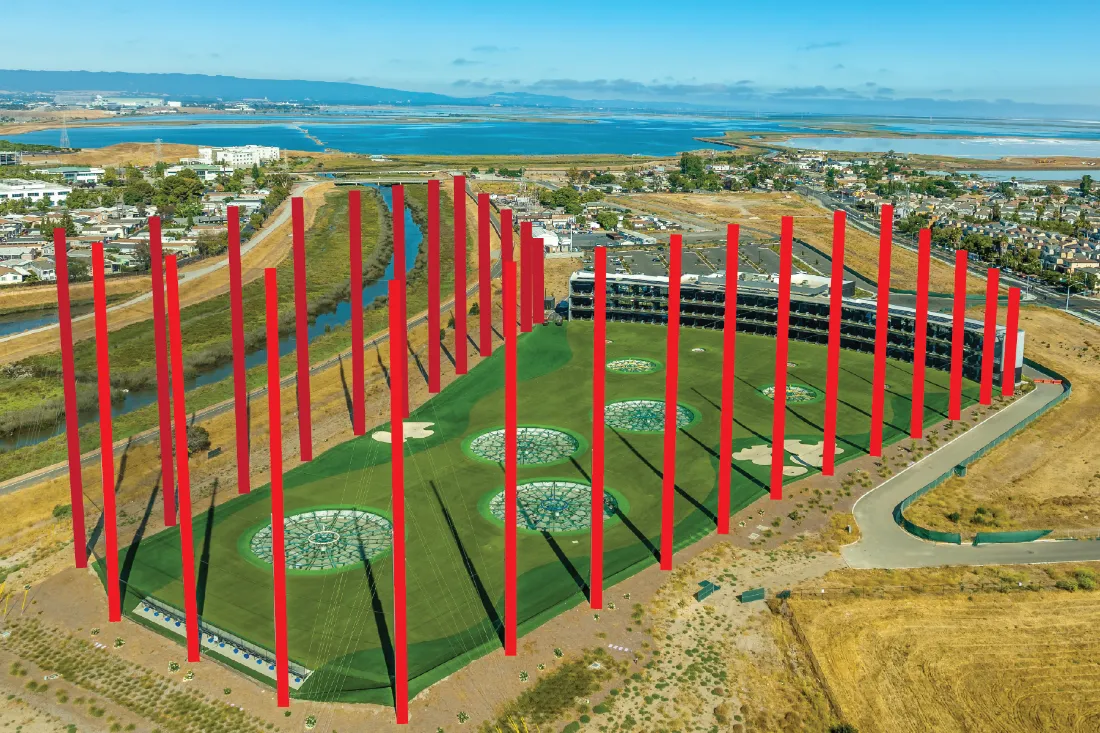
To know the correct size of netting you require, you need to know how much perimeter you need to cover. Measuring the perimeter includes measuring the distance from one end of the range to the other, following the path of the range itself. Measure at the preferred height of the netting or the height you need the netting to start. Once you have the perimeter measurements, you can calculate the total square footage you need to cover.
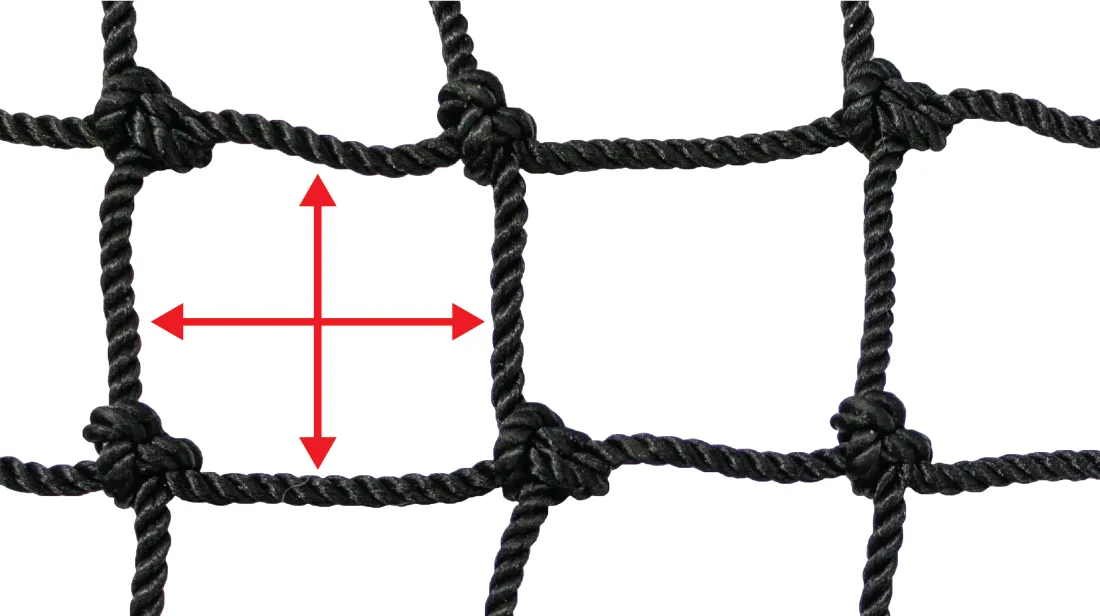
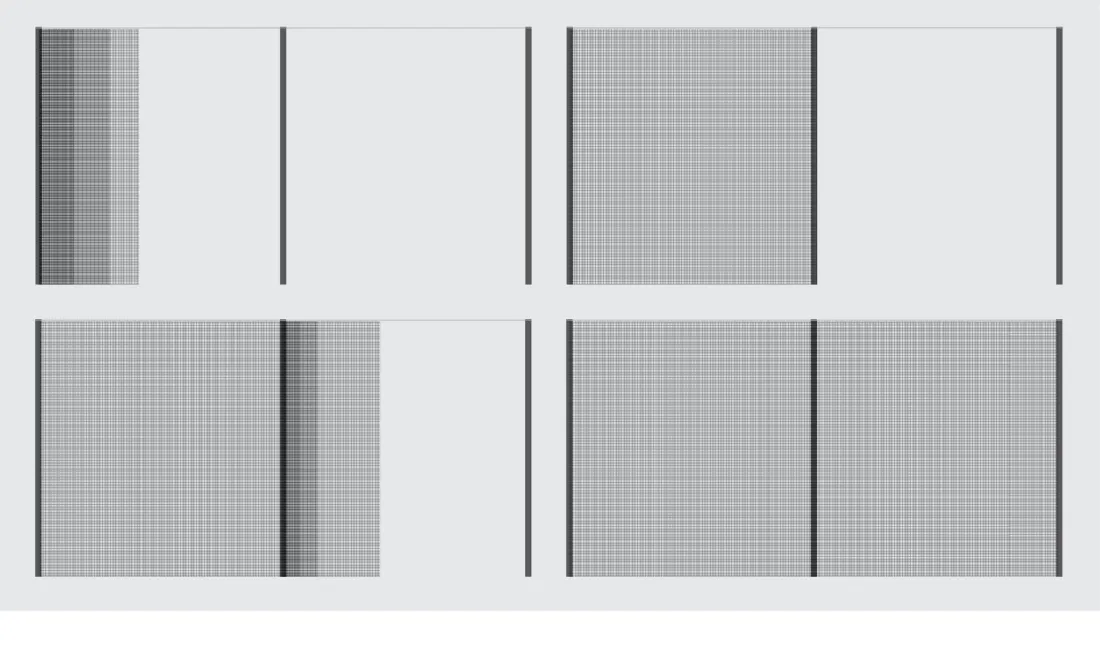
The mesh size is the size of the squares within the netting. It determines the number of golf balls that can penetrate the netting and the amount of wind that can pass through.
Recommended: Either a 3/4-inch square or a 1-inch square mesh. Larger mesh costs less but may be less effective at stopping golf balls.
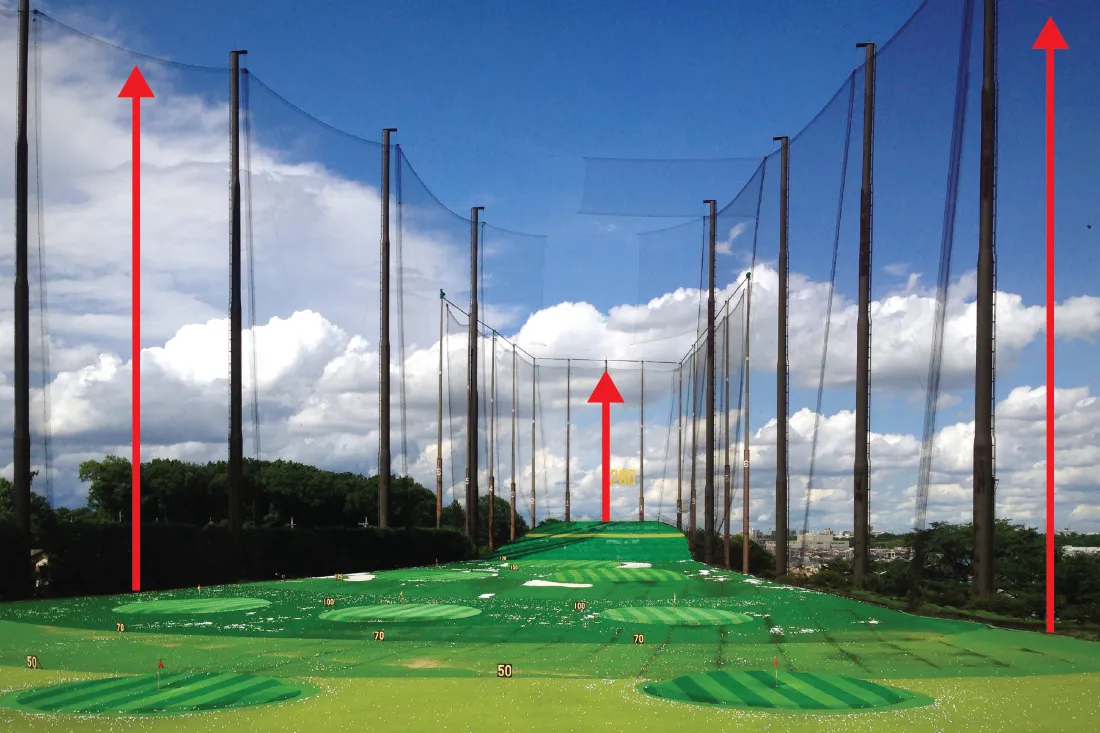
The netting's height is the starting point measurement of how high you want the netting to be, usually at the tee area. The height depends on the trajectory of the golf ball and how much of the range you want to protect.
Recommended: Most golf ranges use a height of 45 to 65 feet. Height may change along the range depending on landscape.
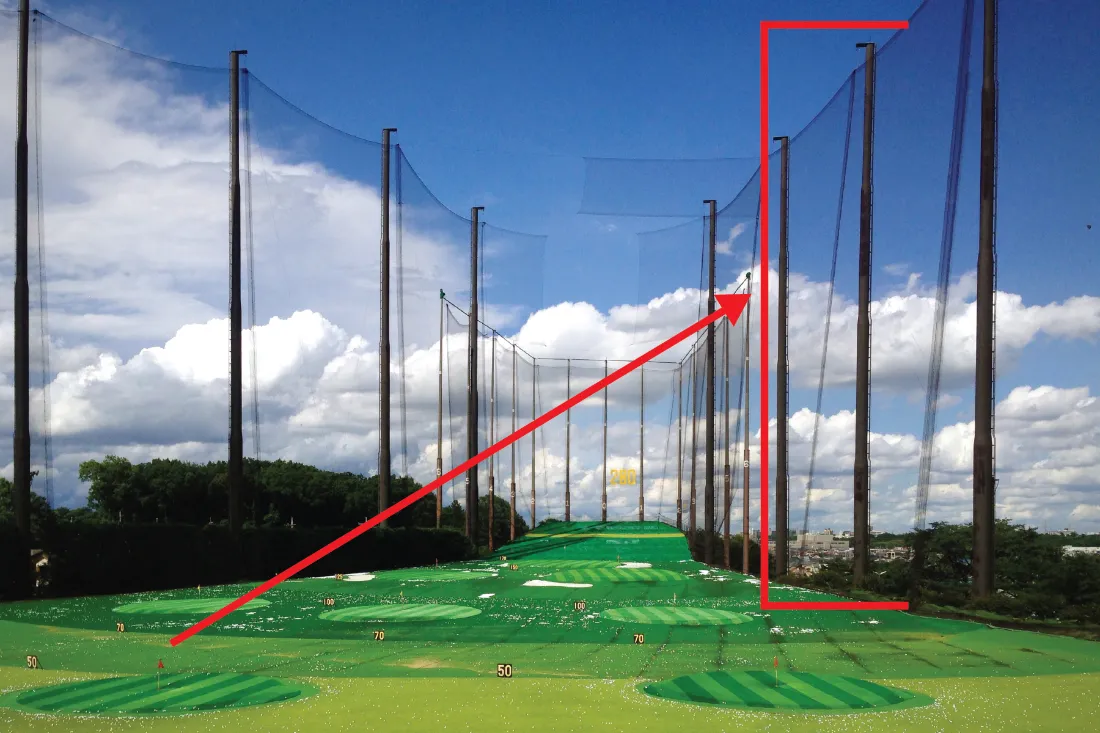
The depth of the netting is crucial as it will determine how deep in the ground the netting should be planted or anchored. This prevents stray golf balls from bouncing over the netting.
Recommended: Most golf ranges have a depth of at least 10 feet. May vary based on wind velocity and ball trajectory.
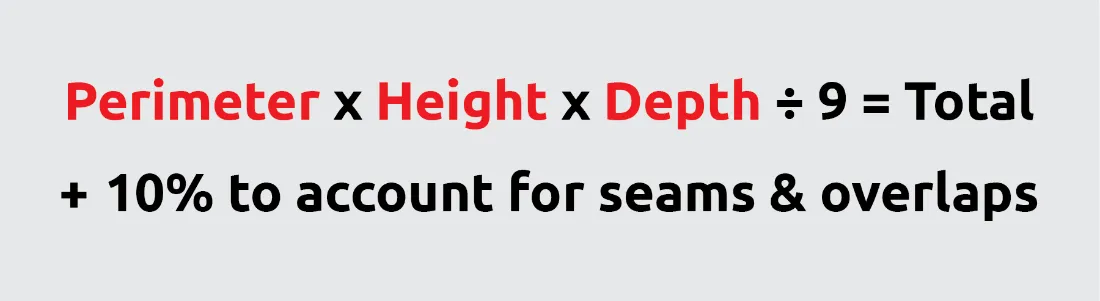
After obtaining the perimeter, mesh size, height, and depth, you can calculate the total size of the netting required.
Perimeter x Height x Depth / 9 = Total Square Footage
Tip: Add an extra 10% to account for seams and overlaps.
One crucial element of any good golf range is the ability to hang your golf nets. With the right setup, your customers can easily practice their swings without worrying about stray balls.
Before you begin, determine where you want to install the barrier netting, poles and posts. Make sure you choose an area that is spacious enough to accommodate your golf net and any practice equipment. Take into account any surrounding structures or obstacles that may interfere with the installation or cause safety concerns.
When it comes to choosing the right material for your poles and posts, there are several options to consider: Wood, Fiberglass, Aluminum, and Steel.
Choose a material that is durable and can withstand the elements. Consider the weight of your net and equipment to ensure poles can support them.
Once you've chosen the right material and determined where to install the poles and posts, it's time to start installing them. Depending on the breaking strength of the material, you may need to dig holes or use a drill to secure the poles and posts in place. Make sure you follow the manufacturer's instructions carefully and always prioritize safety.

After you've installed the poles and posts and attached the netting, it's important to test the setup for safety and efficiency.
When running a successful driving range, it's critical to ensure that your operations run smoothly and safely. Invest in quality netting to protect your property.
Shop Driving Range Netting Safety Netting
  Barrier Netting
  Loading Dock Safety Nets
  Facility & Warehouse Safety
  Construction Safety Catalog
  Debris Netting Panels
  Fall Safety Netting
  Steel Netting
  Kevlar Reinforced Netting
  Conveyor Netting
  Drone Safety Netting
  Spectator Safety Products
  Transportation Safety Netting
  Plastic Fence
  Cargo Nets
  1" Webbing Cargo Net
  2" Webbing Cargo Net
  Custom Cargo Netting
  Cargo Netting Roll
  Military Grade Cargo Lifting Net
  Decorative Rope Cargo Net
  Truck Cargo Net
  Truck Cargo Net Kit
  Rope Cargo Net
  Steel Cargo Net
  Kevlar Reinforced Cargo Net
  Jumbo Lifting Nets
  Warehouse Cart Netting
  Pallet Rack Netting
  Debris Net Rolls
  Loading Dock Solutions
  Wall Mounted Loading Dock Nets
  Above-Ground Loading Dock Safety Nets
  In Ground Loading Dock Nets
  Existing Bollard Safety Nets™
  Construction Netting and Mesh
  Debris Netting Panels
  Fall Safety Netting
  Debris Netting Rolls
  Hatch Safety Netting
  Safety Barrier Netting
  Warehouse Safety Netting
  Hatch Netting
  Rack Safety Netting
  Loading Dock Solutions
  Military Netting
  Plastic Netting
  All Purpose Nets
  Barrier Netting
  Custom Barrier Netting
  EZ Barrier
  Knotless & Knotted Barrier Netting
  Sports Barrier Netting
  Warehouse & Dock Safety Barriers
  Pallet Rack Barrier Netting
  Sports Netting
  Custom Sports Netting
  Golf Netting, Barriers & Cages
  Baseball Netting & Cages
  Spectator Safety Products
  Camouflage Nets
  Drone Netting
  Gym Divider Curtains
  Lacrosse Backstops
  Agricultural & Pest Control Netting
  Shade Cloth
  Trellis Netting
  Crop Protection & Blueberry Netting
  Bird Netting
  Pond Netting
  Pest Control
  Poultry Netting
  Shade Cloth
  Square / Rectangular Shade Cloth
  Triangular Shade Cloth
  Metal Netting
  Steel Cable Netting
  Decorative Steel Netting
  Steel Chain Netting
  Conveyor Netting
  Light Duty Conveyor Netting
  Heavy Duty Conveyor Netting
  Heavy Duty Conveyor Netting w/ Debris Liner
  Plastic Fence Netting
  Multi-Use Plastic Fence
  Safety Barrier Fence
  Containment Netting
  Deer Fence
  Plastic Elk Fence
  Plastic Agricultural Netting
  Plastic Pallet Rack Netting
  Plastic Bird Netting
  Plastic Poultry Netting
  Plastic Snow Fence